Expense tracking is essential to ensure that the business is marching ahead on the road to success. A profitable organization is not one, which can sell more, but the one which is also able to keep a check over its expenses. Thus, expense tracking can be accredited for keeping an organization profitable and yielding.
Expense tracking is also important for you if you are a freelance or a humble business organization which is outsourcing its services. If you are working on various projects or clients, you need to keep a track of the expenses in order to bill your clients accordingly.

The availability of expert expense tracking software has taken the burden off the shoulders of business professionals. Now with the help of expense tracking software, business owners can easily track down expenses, without losing their mind.
Expense tracking with Invoicera
Invoicera offers its users a really easy to use and self-explanatory user interface. Thus, users can keep a track of a variety of expenses and that too with ease and comfort. Here are the steps you need to follow for expense tracking with Invoicera:
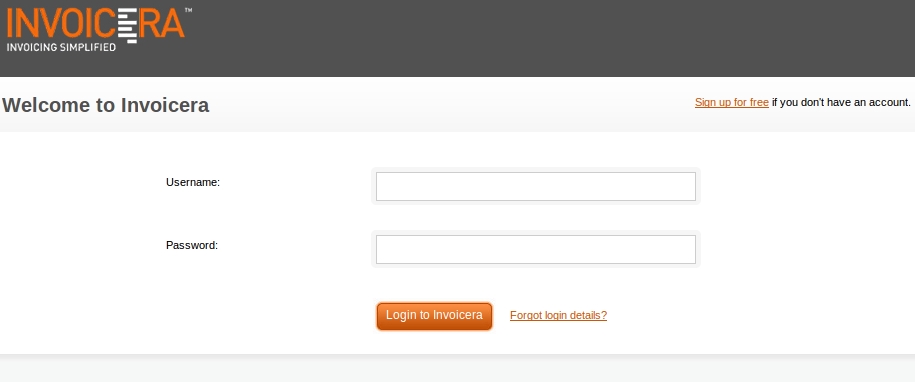
Step 1: Login To start with the process of tracking down the expenses, you first need to login to Invoicera, with the help of unique user name and password. Thereafter, navigate to Expense section on the navigation bar.
Step 2: Choose a category
Before you start with the entire expense tracking process, you need to determine which category the expense belongs to. The choice of the category will enable you to manage all the expenses rather easily.
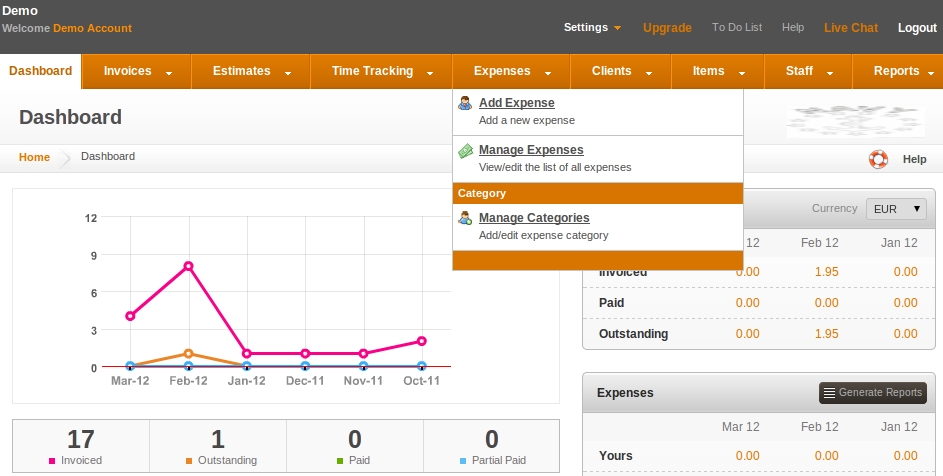
Step 3: Add an expense – The next option is to add an expense, which will be shown in the drop-down menu, the moment you click ‘Add Expense’ from the menu bar. Add Expenses is the first in the drop-down menu, click on the same in order to add an expense.
Firstly, you can add the amount of the expense and select the date on which you have incurred the expense. If a staff member has done it on your behalf, you may assign the expense to the respective staff member from the drop down.

Next, you can manage these expenses under three categories:
– Recurring – If the expense is slated to repeat at regular intervals, you may select the recurring option and can set a frequency and time period for the expense.
– Assign to project – If the expense has been incurred for a particular project, you can include it under the same.
– Assign to Client – If you are working for a client, you can easily keep a track of all the expenses that you may have incurred for a client, by assigning the expense to a particular client.
You may import expense in XLS or CSV file format from – Import Expenses (top right section).
Once you are through with above mentioned steps, you may save the records and may proceed to the next category.
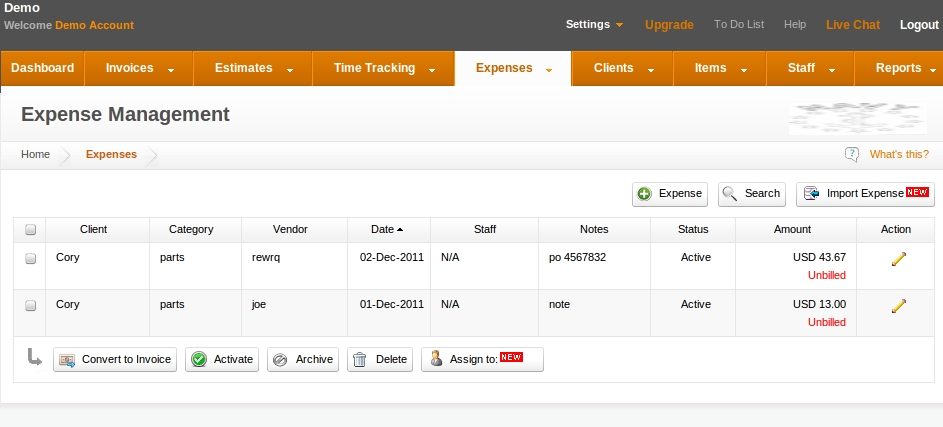
Step 4: Manage Expenses – This feature allows you to view, add, edit, search and manage expense. If you wish to convert any expense to an invoice, you may easily do the same by selecting the expense from left check box and clicking on “Convert To Invoice” button shown at the bottom left section.
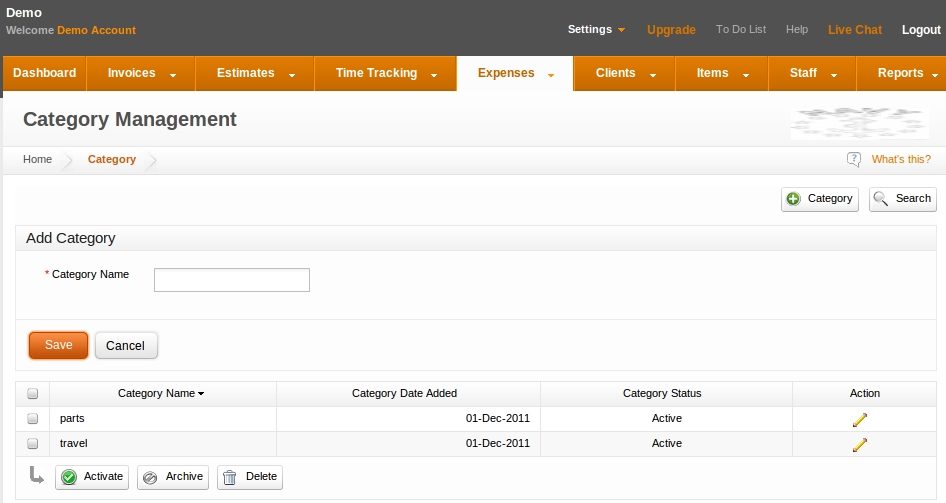
Step 5: Manage Categories – If you wish to add, edit, search or delete a particular category, you may easily do the same with the help of manage categories.
With aforementioned five easy steps, users can easily keep a track of their expenses, no matter how diversified and scattered they are. If you have been wondering if expense tracking was ever so simple, you must try out the features at Invoicera..!